Engine Rebuild
Overview
This project involved the restoration of a 1997 Sea-Doo GTI, with the primary focus being a complete engine teardown, rebuild, and reinstallation. Secondary efforts included cosmetic upgrades.
Additional work not shown here included rebuilding the jet pump, repairing a cracked exhaust manifold, fiberglass repairs, and troubleshooting the electrical system.
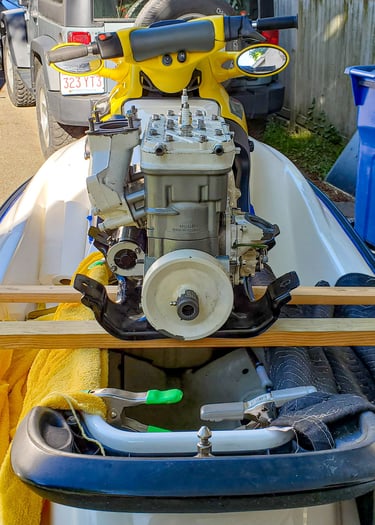
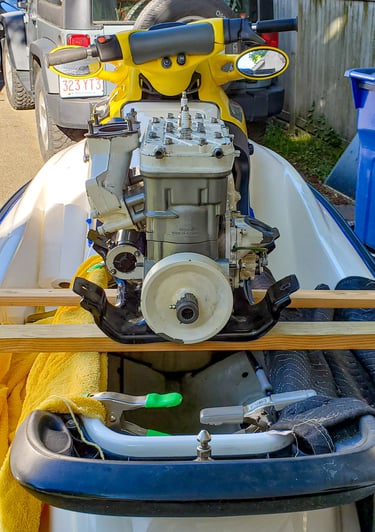
Figure 9: Reinstallation (Carb, Exhaust, Raw Water Cooling System, Fuel, Spark Arrestor, etc.)

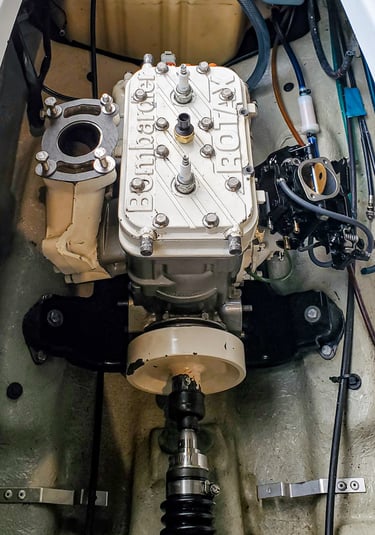
Figure 1: Sea-Doo GTI striped and cleaned
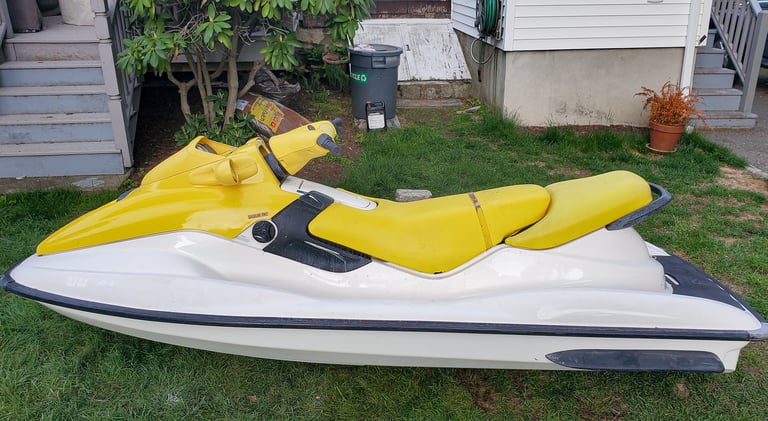
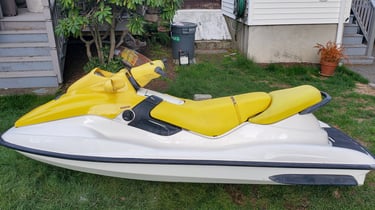
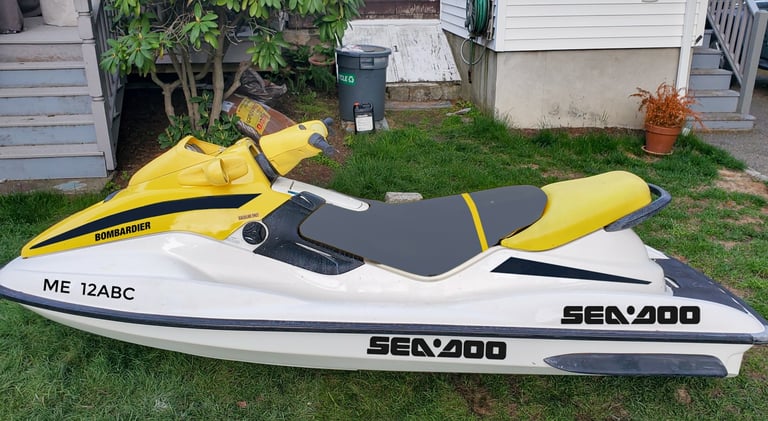
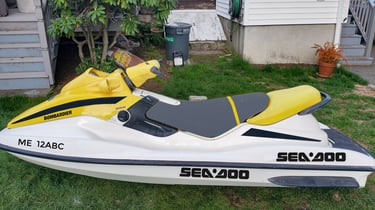
Figure 2: Graphics Mock-Up via Photoshop
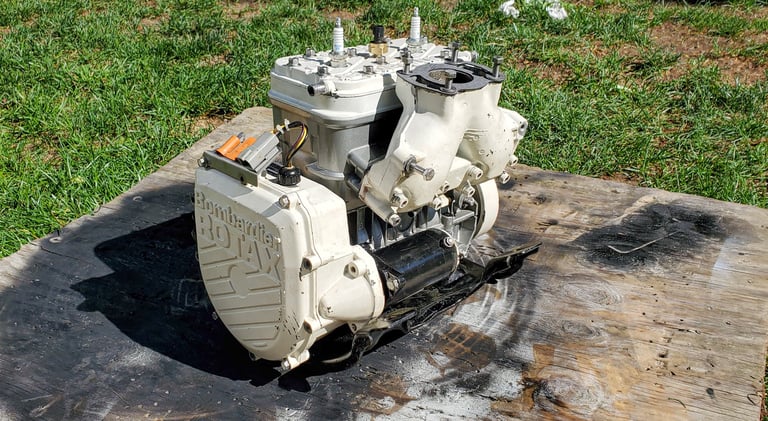
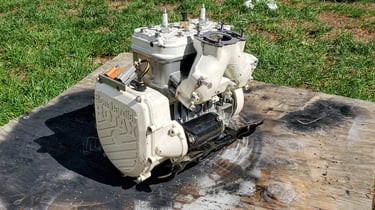
Figure 3: Engine Removed
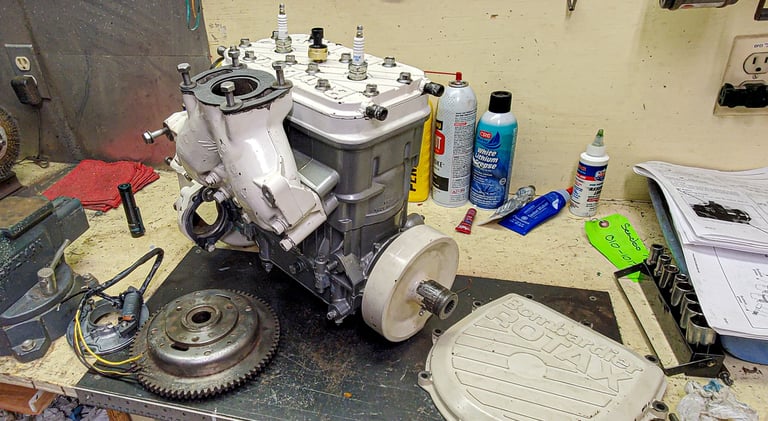

Figure 4: Workshop Disassembly — Ignition Coil
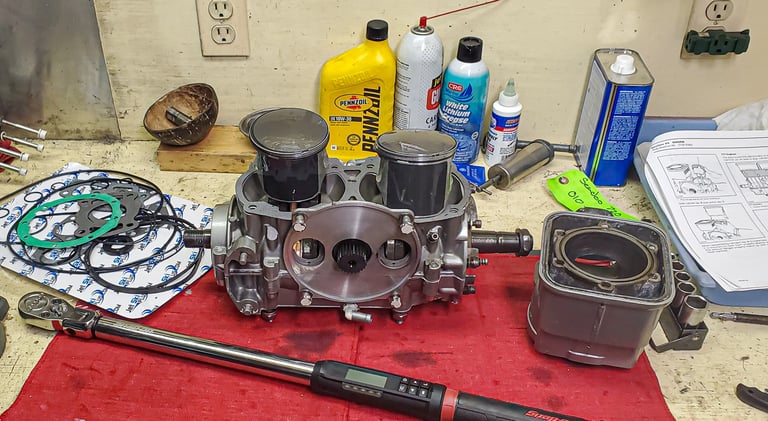
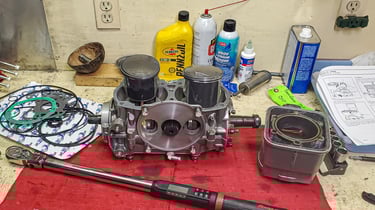
Figure 5: Workshop Disassembly —Top End
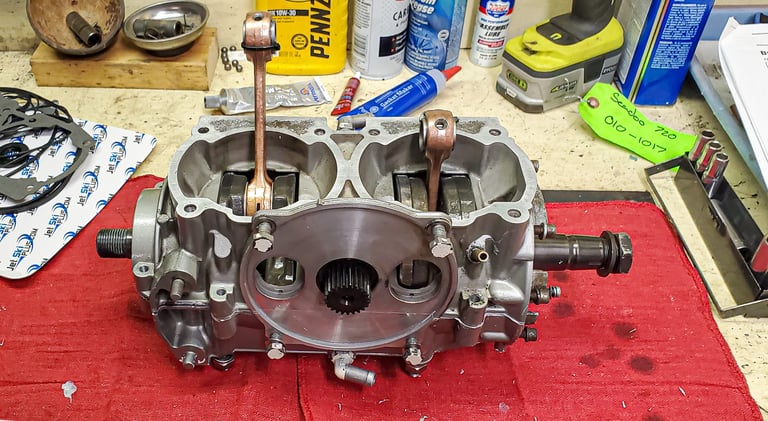
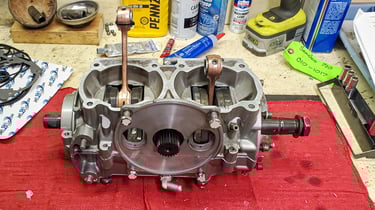
Figure 6: Workshop Disassembly — Bottom End
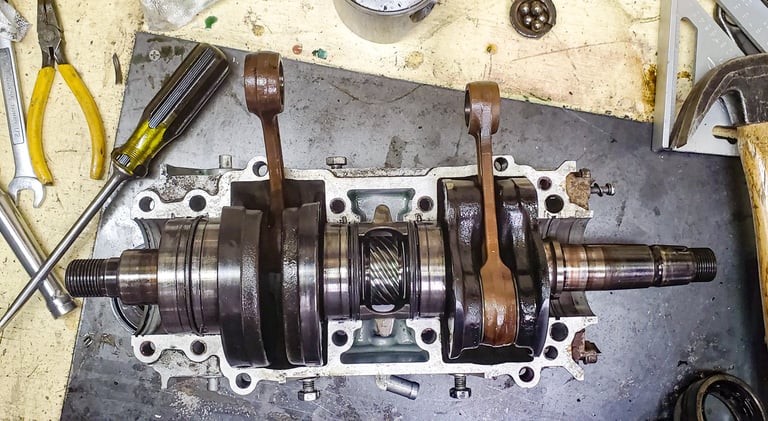
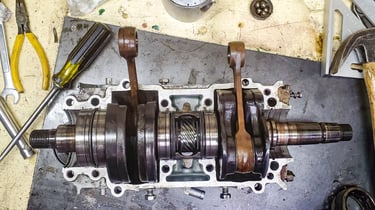
Figure 7: Workshop Disassembly — Crankcase
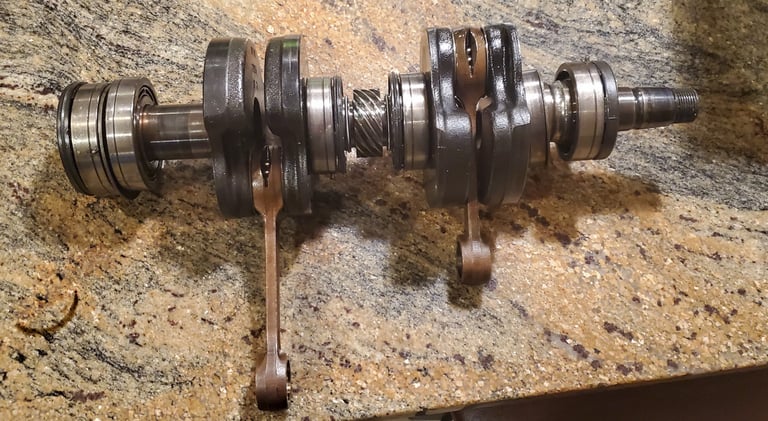
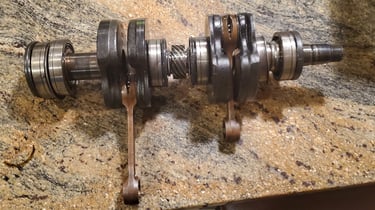
Figure 8: Crankshaft to be Replaced
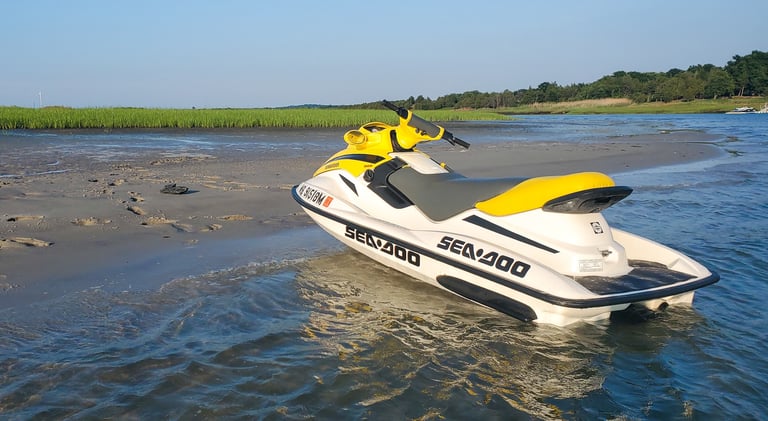
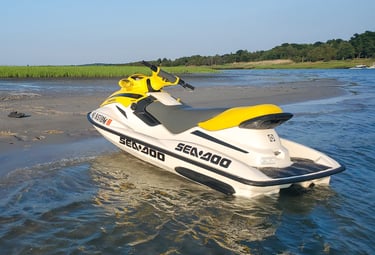
Figure 10: Completed Rebuild
on the Annisquam River, MA
Cosmetic Improvements
The hull was stripped of its original decals, washed, buffed, and waxed. A new design was drafted in Photoshop to visualize changes, including custom-cut decals and a reupholstered seat to give the jet ski a new look.
Engine Removal
The old engine was removed and the oil-fouled engine bay cleaned. All hoses, fittings, and hardware were carefully labeled for reassembly.
Engine Rebuild
During disassembly, compression testing and bore measurements revealed the top end needed new rings, gaskets, connecting rod bearings, and pistons. While apart, the cylinder walls were honed, oil galleries flushed, and any salt deposits within the raw water circuit removed.
Engine Rebuild - Cont.
The lower end inspection showed severe bearing wear on the crankshaft, with loose metal fragments present, making replacement necessary. As a result, a rebuilt crankshaft was installed along with new seals and bearings.
Reinstallation and Alignment
After reassembly with proper torque specs, thread locker, and lubrication, the engine was ready for reinstallation. Positioning was critical to ensure proper alignment between the crankshaft and drivetrain. Shims were used beneath the engine mounts, and a dial gauge confirmed coupling alignment by measuring shaft eccentricity. Once secured, new fuel lines, exhaust connections, and a temporary raw water supply were installed making the engine ready for startup
Outcome
After priming and a few cranks, the engine roared back to life. Needless to say, it was a very rewarding project and restoration. This project was motivated by the shutdowns surrounding Covid-19 and ended up being a very fulfilling way to make the most of quarantine.
Email: contact@nicosordello.com